This was originally going to be a Tuesday Tip post, but I needed to change my schedule a bit — hence the catchy title of this post!
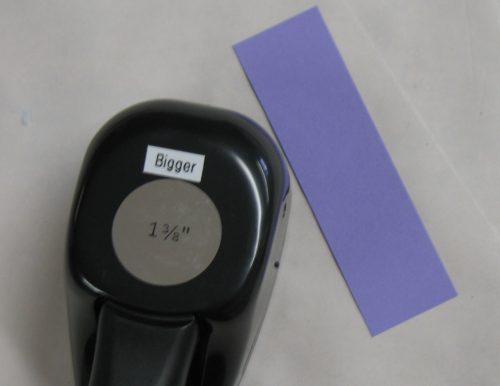
Yesterday’s card featured a strip of cardstock with an intriguing cut at the end. I thought it was worth revisiting this simple tip and searched through my blog files to find the pictures from the original tutorial, which showed the technique using a retired circle punch:
1) In this case, suppose you want to create a curved end to a strip of card stock. You’ll need the strip to be just a hair narrower than the punch, so here the strip was very slightly less than 1⅜ wide
2) Gently curve the end of the strip between your fingers, as if you’re curling the end of ribbon. Don’t crease it, just give it a little flip. (It’s so subtle, this next photo doesn’t even show it!)
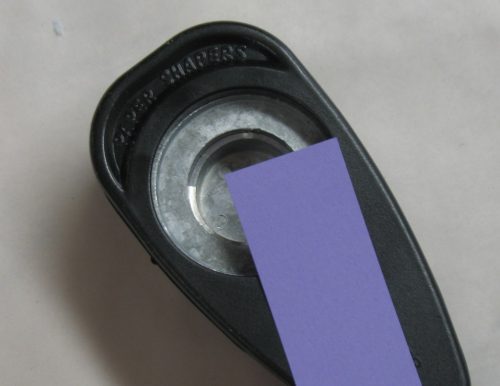
3) From the underside of the punch, insert the end of the card stock strip through the hole and feed it out through the side. If you’re having trouble slipping it through, start with a piece of copy paper inserted into the punch (as if you’re going to punch it); the card stock strip will naturally come out the side.
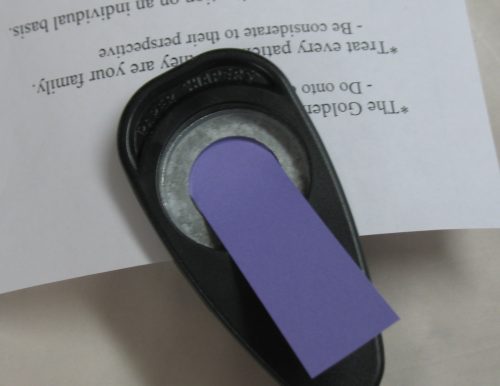
4) Punch! If you use a piece of copy paper, it will also be punched.
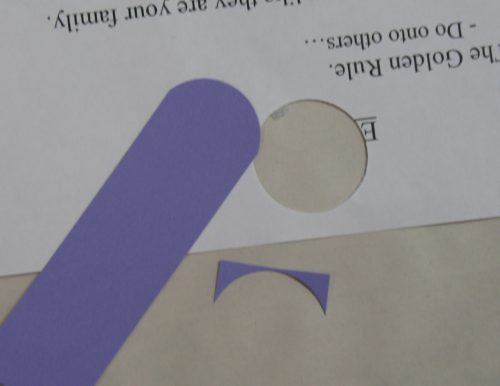
That’s it! Just remember that you’re not inserting the card stock from the side, but rather through the bottom and out the side. Try it!

