A Stampin’ Up! Facebook post for Technique Tuesday the other day caused me to drop what I was doing and start playing! Irina Held, a current Artisan Design Team Member, wrote a tutorial she called “Create Custom Stickers.” As I looked at the tutorial, I quickly realized she was re-introducing an old technique I had used probably 12 years ago (and barely since!).
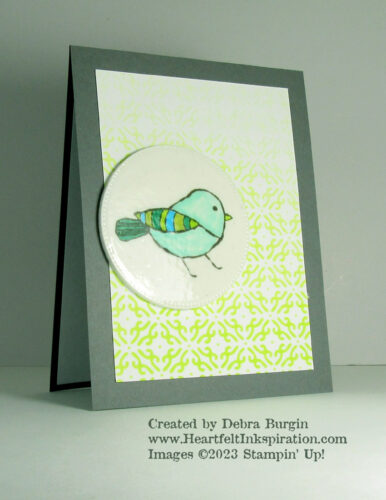
I wouldn’t call this a sticker — it’s more like a disc of faux china. When we did this years ago, we were actually making a seasonal pin (I think it was a holiday image) that got its stability by layering several pieces of cardstock. In the example here (and Irina’s tutorial), the circle is backed with a Foam Adhesive Sheet. It reminds me of the button pins we used to make for clubs and school events when I was a teenager. I believe I still have one in my memory box that urges support for our Fighting Cavaliers!
The technique is this:
- Stamp and color an image on a scrap of cardstock.
- Adhere the same-size piece of Foam Adhesive Sheet to the back of the stamped scrap.
- Die cut the image.
- Press the stamped side against a juicy VersaMark pad.
- Pour clear embossing powder over the VersaMark.
- Heat emboss (I used a “poky tool” on the edge of the disc so it wouldn’t blow around).
- Allow to cool, then repeat the VersaMark inking, powdering, and heating.
- If desired, repeat the previous step.
- Remove the backing of the Foam Adhesive Sheet and add the faux china piece to your card front.
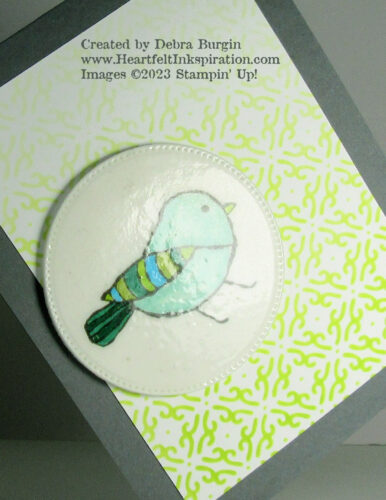
Here you see the shininess of this disk — very much like a piece of china!
Are you curious about the background? If you’ll be attending next weekend’s Marvelous Masks class, your curiosity will be satisfied then!


