
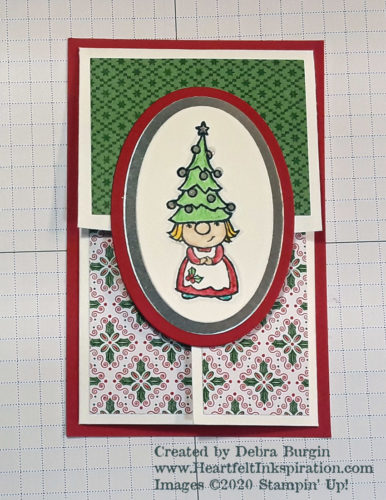
As promised, here are the measurements and tips for the gift card holder in last Wednesday’s video. There weren’t any errors in the video, but I think it sounded like I may have been hitting the eggnog a bit early in the season. If you like to read rather than view a tutorial, I hope you’ll find this helpful!
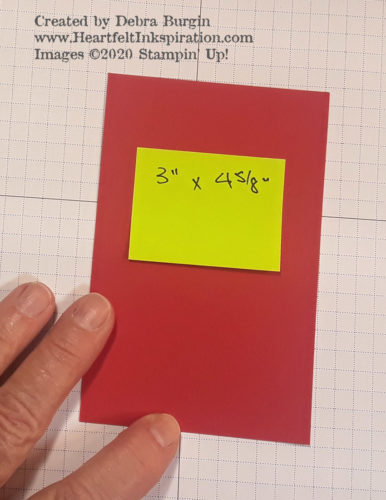
This gift card holder measures 3″ x 4⅝” when closed. It fits perfectly in a Note Card Envelope or a larger, standard Medium Envelope. When the top flap is opened, you have a pocket to insert your gift card or cash.
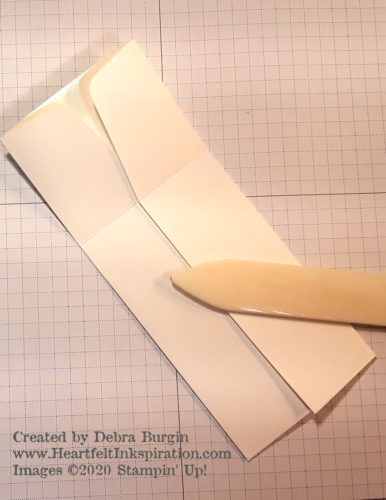
First, open up the flap of a Medium Envelope. Score each side at 1½”, as shown below. I find it easier to score with the side of the envelope against the side of the Simply Scored Scoring Tool. Then I rotate the envelope 180 degrees and repeat the score on the other side (that’s why my sticky note is upside down). Doing it this way ensures I have the scores the same distance on each side.

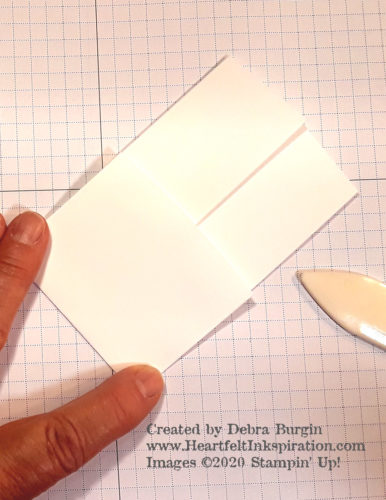
Fold the sides in and burnish the creases with a Bone Folder.
Fold the flap over and burnish the crease. Then flip the whole thing over and burnish the creases from the back (not shown).
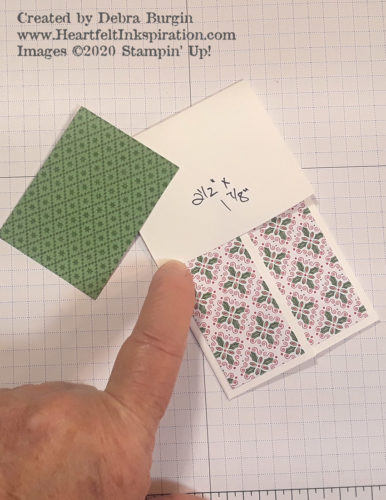
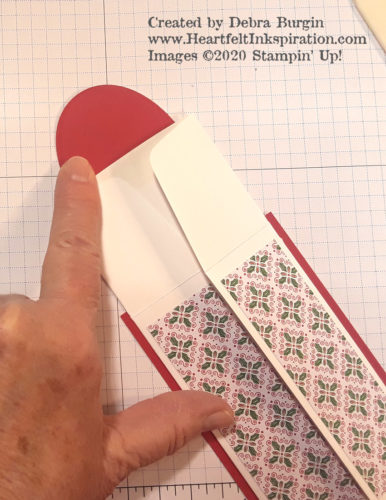
Now for the fun part! Cut two pieces of patterned paper 1¼” x 4″. If there’s a pattern going across the paper, you’ll want to keep it straight. Flat adhere a strip to each side flap of the envelope, keeping a 1/8″ margin on the sides and bottom. (The top margin is slightly larger, but you don’t see it with the holder closed.) Note that there is a slight overlap of the flaps when they are closed, which visually keeps the 1/8″ margin on each side of the strips.

Depending on the focal point for the gift card holder, you may wish to flat adhere to the envelope flap a piece of patterned paper 2½” x 1⅞”, maintaining the 1/8″ margin on the sides and top edges. There is a slight curve at the bottom of the flap that will be covered by the focal point.
Next, cut the back, which measures 3″ x 4⅝”. Flat adhere the back of the gift card holder to this piece, maintaining the 1/8″ margin on all sides.
Finally, create your focal point and flat adhere it to the envelope flap, taking care not to adhere the bottom part! You do not want to glue the holder closed, right?
I hope this is helpful! If you have questions, please post in the comments and I’ll reply as soon as I can. Enjoy this little project!


Hello Wonderful Debra!
I love this gift card holder, it’s super easy to make, and I love it. I remember we made this, I believe in December 2018 with the beautiful ornament. This is a brilliant idea!
Thank you for the video! You are the best!
I thought we had made this in camp, but I can’t find any record of it!