Here are the cards (well, at least three out of four layouts) from last week’s videos on the Double Wonder technique. As I said, I kept the palette pretty simple to avoid making too many decisions! At the end of the post, you can see what I used. Note that the circle punch I used has been retired for several years, but the Pretty Label punch (amazingly) is on the retiring list NOW!
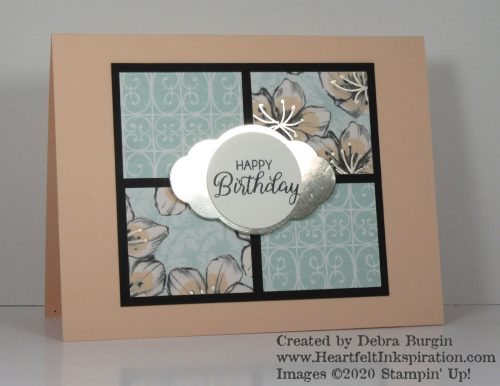
For some reason I neglected to take pictures of the first layout, and now it’s too late! Here is the second one. You could certainly adhere these four pieces directly to the card base, but I cut a mat 3⅞” x 3⅜” to give equal margins all around (it’s easier to keep things straight that way).
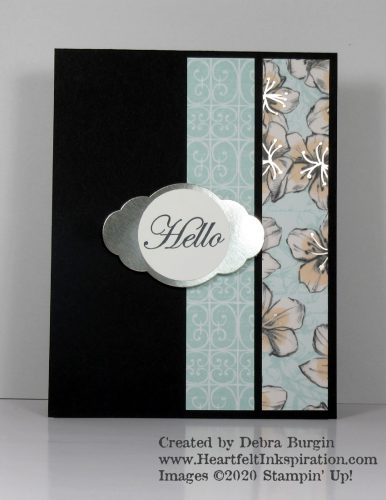
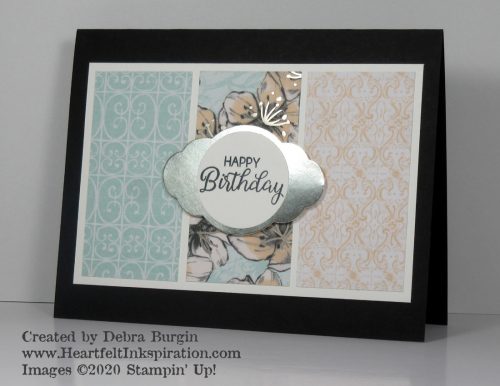
As I said in the video, you’ll see other stampers create this next layout with a matted left-hand panel, but I wanted to keep it simple, so both panels here are flat adhered to the card base.
Finally, I cut a 5″ x 3¼” mat for the three panels on this layout.
I hope you are trying this easy technique, especially if you are trying to use up some of your Designer Series Paper to create more room for the new catalog offerings — that’s my plan!
Click the images below to add products for this card to your cart in my Stampin’ Up! online store. Disclosure: I get a commission for purchases made through these links, at no additional charge to you. Thank you!
 1-3/8″ Circle Punch [119860] |